
If you’re considering facial fillers, it’s natural to have questions about what to expect during your appointment. This guide will walk you through the key steps involved, helping you feel more informed and comfortable.
Step 1: Initial Consultation
During your initial consultation, your practitioner will assess your facial structure, discuss your goals, and determine the best filler options for you.
This step is crucial as it sets the tone for your entire treatment journey. It’s an opportunity for you to share your expectations and for the practitioner to evaluate what will work best for your unique features.
You’ll also discuss your medical history during this time, which helps to ensure safety. Be open about any allergies or previous cosmetic procedures, as this information can guide your clinician in making the best choice for your filler type.
Feeling comfortable is essential! This meeting is your time to ask any questions you might have, ensuring that you fully understand the process before diving in.
Step 2: Preparing for Treatment
Before the treatment, your practitioner may provide specific instructions, such as avoiding certain medications or alcohol to minimize bruising.
You’ll want to plan ahead! Refraining from blood thinners like aspirin and ibuprofen in the days leading up to your appointment can significantly reduce the chances of any unwanted swelling.
Staying hydrated is also an important part of your preparation. Drinking plenty of water helps maintain your skin’s elasticity and can optimize the results once the fillers are injected.
Additionally, consider arriving with a clean face, free of makeup. This helps facilitate a quick and effective treatment so you can enjoy your results sooner!
Step 3: The Treatment Process
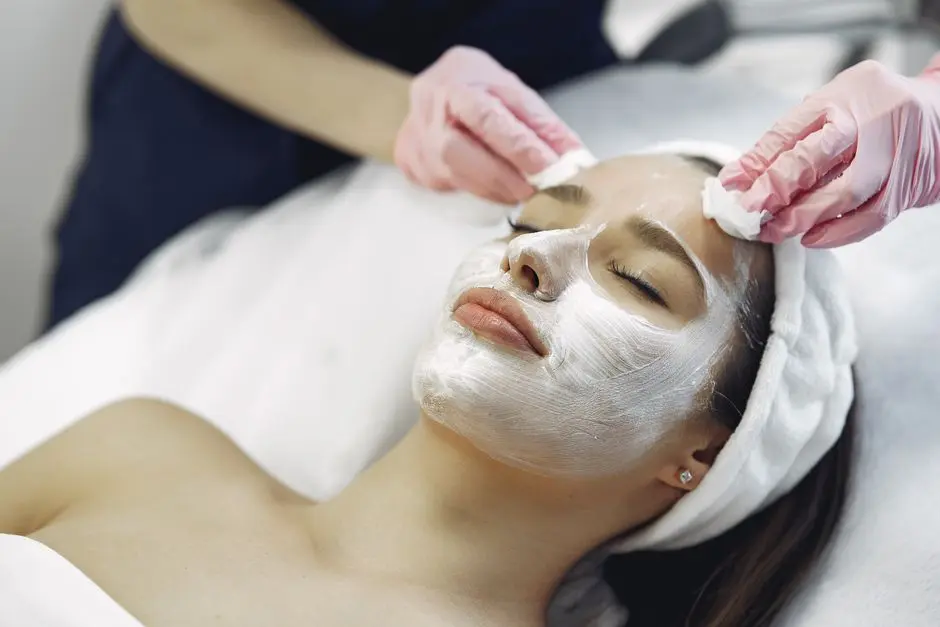
On the day of your appointment, your practitioner will clean the area and may use a numbing agent to ensure your comfort during the injections.
The treatment itself usually doesn’t take long—often under an hour! Once you are comfortable, the practitioner will carefully inject the filler into predetermined areas.
You might feel a slight pinch, but the numbing cream typically dulls the sensation. Some practitioners also utilize a special technique to minimize discomfort even further.
After the injections, there may be a bit of swelling or redness. This is completely normal, and your practitioner will monitor these reactions to ensure everything is progressing as expected.
Step 4: Post-Treatment Care
After the procedure, your practitioner will provide aftercare instructions. It’s important to follow these to ensure optimal results and minimize any side effects.
You’ll likely be advised to avoid strenuous exercise, excessive heat, and facial massages for at least 24-48 hours post-treatment. This gives your skin plenty of time to settle and allows the filler to integrate properly.
If you notice any unusual swelling or discomfort, don’t hesitate to reach out to your practitioner. They are there to support you throughout your healing process.
Lastly, keep in mind that the final results of your facial fillers might not be immediately apparent. It can take a few days for any swelling to subside, revealing the full beauty of your enhanced features.
Ready for Your Facial Filler Appointment?
Getting facial fillers can be an exciting step towards enhancing your natural beauty. By understanding the process, you’ll be better prepared and more at ease during your appointment. Remember to communicate openly with your practitioner, and don’t hesitate to ask any questions.